If you follow @BrittsList on Instagram you will be well informed of my foray into self-made, slow fashion. As this is the first piece I’ve made *properly* I wanted to share some of the steps that went into it, as well as the challenges and the triumphs. When I say properly, I mean that I really slowed down and made sure it was made well and hopefully, to last. Although, I’m not sure how well that’s turned out. For me it meant washing the fabric before I started (I’m usually too impatient to do this), zig zagging exposed fabric edges and just generally taking it slow to make sure I don’t f*ck it up.
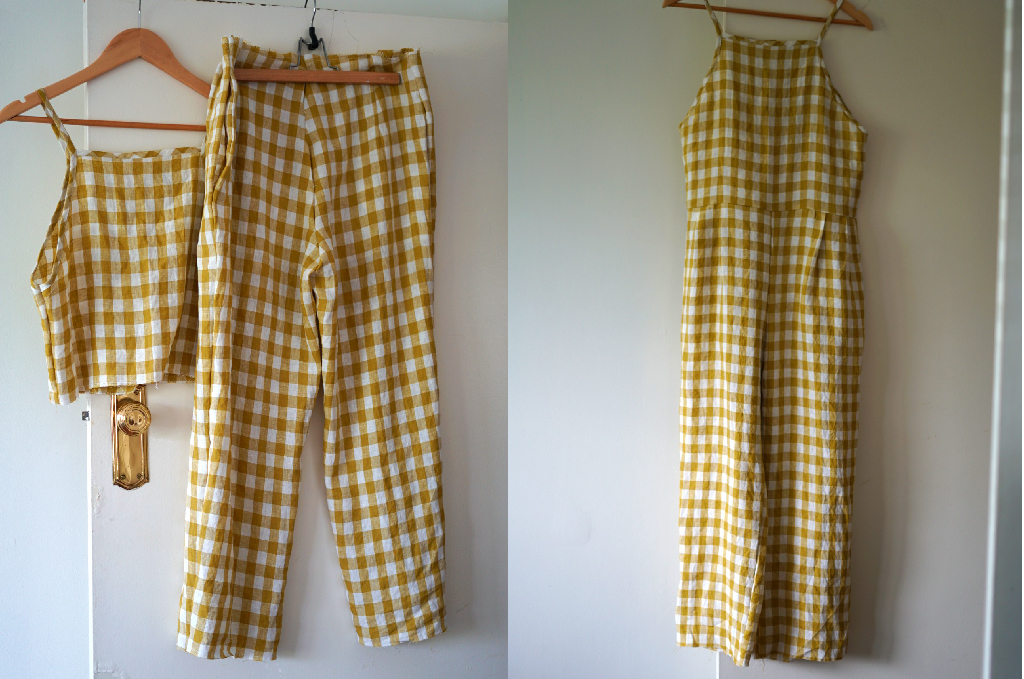
I had already made view C of this pattern which is the playsuit. That involved sooooo much unpicking I can’t even explain. At one point the pockets were between the two fronts and backs. Yep. Anyway, I figured the remake would be a lot easier and I was somewhat correct, although view B has a few different elements such as the waist tie.

About the fabric
I picked up the beautiful yellow gingham linen from Gardems Fabrics – a fabric store in the Myer Centre in Brisbane. It’s a nice mid weight linen with body. It came out of the wash quite crinkly so I gave it an iron before pinning and cutting the pattern pieces. Classic linen.
Challenge: I’m currently working out of the living room because my partner and I have taken over the office/sewing machine while we’re working from home.

Cutting and stuff
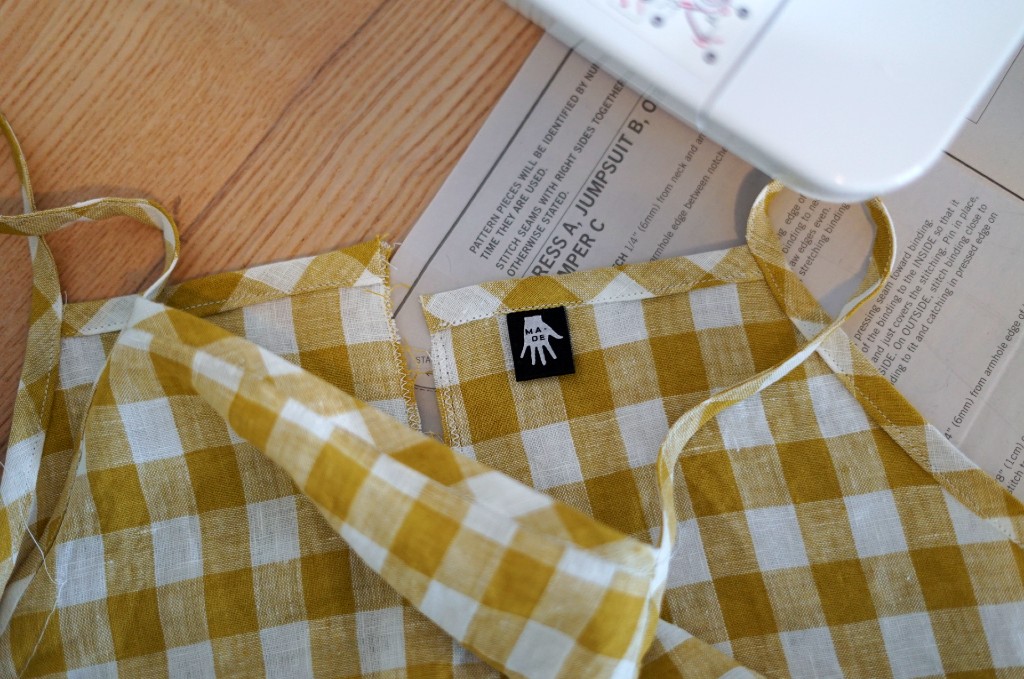
I under ordered the fabric so I was cutting it pretty close but managed to get by by making the waist tie slightly shorter. This pattern/garment involves a lot of bias binding (upper front, upper back, arm holes and straps) which was a nightmare to make/sew. I highly recommend pre-made bias binding if you can find the matching pattern/fabric for your project. But even with the pre-made stuff, sewing it is a nightmare and you’ll see I did a pretty rubbish job of it. I unpicked it a few times too but I just can’t seem to get a straight line around the edge while still catching the underside of the binding. If you’ve got any tips for this, please message me. I have been told hand stitching is the way to go for this so I’ll give that a try next time.

Sewing the bodice
The top part of the jumpsuit is pretty simple. I sewed some stay stitching across the arm holes and zig zagged any of the exposed edges of the fabric. After that it was all of the bias binding (yay) starting with the upper front, upper back and then the arm hole/straps which attach the front and back pieces. I then stitched the front and back bodice pieces together at the sides.
Triumph: I actually remembered to include my handmade label from the start. This is one from a pack I bought from Kylie and the Machine – my favourite online store for sewing accessories.
Sewing the pants
As mentioned earlier, I had a really hard time sewing the pants when I made view C of this pattern that led to SO MUCH unpicking. It doesn’t help that this (or the previous plain linen fabric I used) doesn’t have a distinct right side making it difficult when sewing things such as pockets. This time around was a lot easier and I managed to put the pants together with minimal unpicking. The process for the pants includes some stay stitching along the upper front and back pieces, basting and sewing the pleats on the front and back pieces, joining the front and back at inner leg seams and then sewing the pieces together at the crotch (leaving room at the back for the zip). Again, I have been zip zagging all exposed edges (ie. crotch, inner and outer leg seams).
Triumph: Got it right the first time – ha!

Attaching the bodice and the pants
This step was reasonably simple and a major triumph because I managed to line up the side, front and back seams the first time around. Success.
Note: At this point I went back and unpicked the arm hole binding because the straps were too long. I did some gathering stitches and restitched the binding.
Zip, waist tie, hems and finishing
The last few steps include sewing in the zipper, creating and attaching the waist tie, finishing the crotch and sewing the hems. Zips, especially of the invisible type, are not my friend. I managed to stitch the first side really well but the second side I couldn’t get close enough to the coil. I may have been using the incorrect needle position. I unpicked it and resewed it but it wasn’t much better. The waist ties were attached at this stage as well as they sit under the zipper.
The final thing to do was tuck under and hand stitch the top of the zipper tape and sew the hems. I decided to hand sew the hems and opted for a slip stitch for these. It was a really nice and enjoyable process and in hindsight I wish I hand stitched the arm hole binding. I’m now thinking of going back and shortening the straps again and hand stitching the arm binding. What a process!
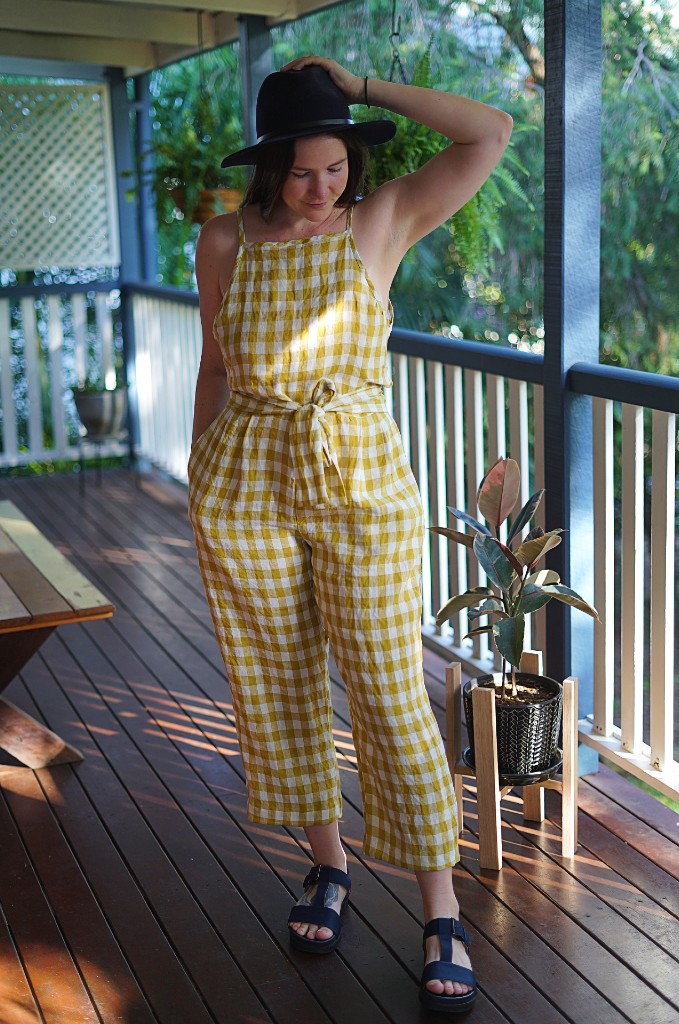
The pattern used for this is the New Look N6616 Misses’ Dress And Jumpsuit.